Login Groups give a user or a group of users access to a set of Work Types.
Adding a new Login Group
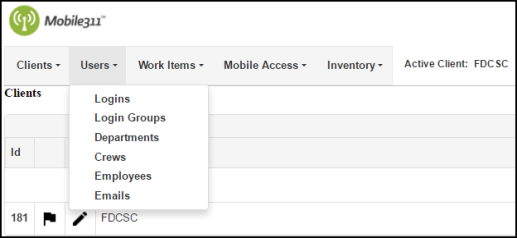
- Hover over the Users tab and click Login Groups.
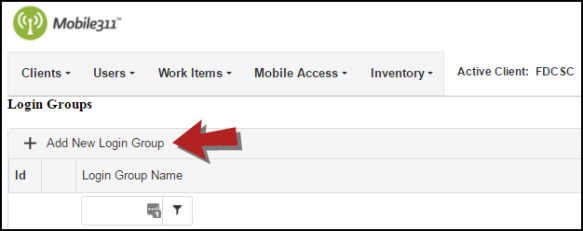
- Click on Add New Login Group at the top of the users list.
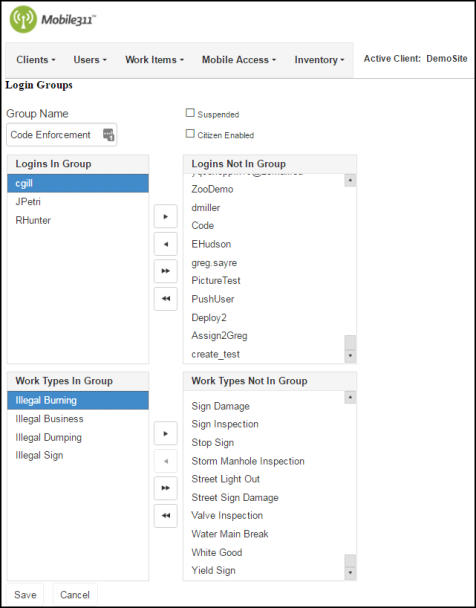
- Enter a name for the Login Group in the Group Name field. *Note: This is a required field.
- Check the box next to Citizen Enabled to allow Citizen Portal users to submit requests with any of the listed the Work Types in the Login Group.
- Select the Logins from the Logins Not In Group box and use the left arrow to add those users to the Login Group. Users with access to the Login Group will show in the Logins In Group box. *Note: Users can be listed in more than one Login Group.
- Select the Work Types that will be a part of this Login Group from the Work Types Not In Group box and use the left arrow to move them over. Work Types that are a part of the Login Group will show under the Work Types In Group box. *Note: Work Types can be listed in more than one Login Group.
- Click Save when you are finished.
If utilizing the Citizen Portal, create a Login Group called "Citizen Enabled" and add in the Work Types that need to be available for Citizens on the request page. Be sure that the Citizen Enabled box is checked. When a Citizen creates an account to submit requests, they will automatically be entered into the system as a Guest user and will be added into the Login Group(s) available to the Citizen Site.
Editing an Existing Login Group
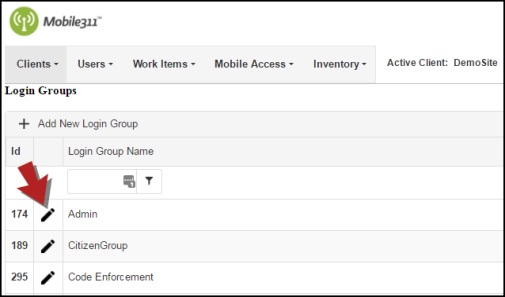
- Hover over the Users tab and click Login Groups.
- Click the pencil icon (
 ) next to the Login Group that needs to be edited.
- If you need to add additional users or Work Types to a Login Group, make your selections in the Logins Not In Group or Work Types Not In Group boxes and use the left arrows to move them over to the Logins In Group or Work Types In Group boxes.
- If you need to remove users or Work Types from the Login Group, make your selections in the Logins In Group or Work Types In Group boxes and use the right arrows to move them over to the Logins Not In Group or Work Types Not In Group boxes.
- Click the Save button once you have made your changes.
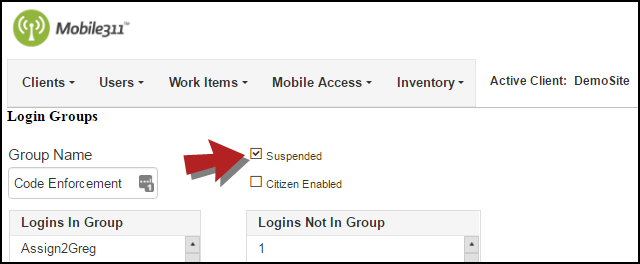
Suspending a Login Group
Once a Login Group is suspended, users who were a part of the group will no longer be able to choose the Work Types from that Login Group. The Login Group will also be removed from the Login Groups list.
- Hover over the Users tab and click Login Groups.
- Click the pencil icon () next to the Login Group that needs to be suspended.
- Check the Suspended box at the top of the page.
- Click Save at the bottom of the page when you are finished.